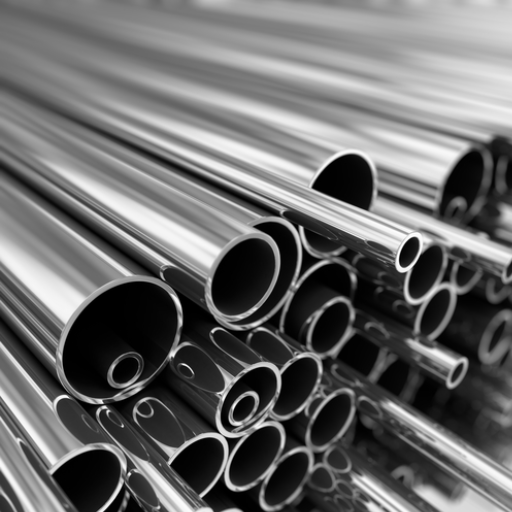
Polished stainless steel works wonders to enrich the appearance of your surfaces and to add increasing durability and corrosion resistance. A proper polishing procedure, therefore, distinguishes a kitchen appliance that requires a good shine from industrial equipment or decorative fixtures. This manual offers you a stepwise approach towards gaining a brilliant mirror finish whilst avoiding the pitfalls that may mar the material. From specific tools and materials selection to the techniques that will ensure proper polishing, this article equips you with everything you need in polishing stainless steel from dull, scratched, and tarnished to professional-grade surfaces. Read on to discover the well-kept secrets of polishing.
Understanding the Stainless Steel
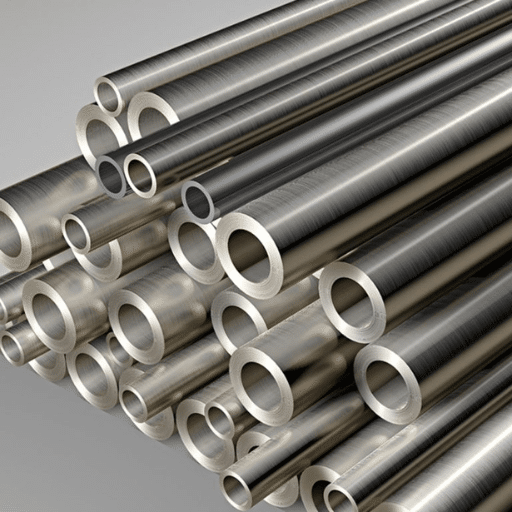
The very versatile alloy of stainless steel has iron as its major constituent, along with chromium, which gives it the essential properties. Other elements, such as nickel or molybdenum, are added to improve some effects. At least 10.5% chromium must be present, since it forms a thin and stable oxide film on the surface, which protects the metal from rust and corrosion.
The thin film is capable of retaining its function due to oxygen if damaged because it is reactive. Apart from various grades and types, stainless steel is generally divided into austenitic, ferritic, and martensitic, each with distinctly different properties which suit a particular application, ranging from kitchenware to construction or industrial equipment.
Properties of Stainless Steel
Corrosion Resistance
The chromium that protects stainless steel from rusting reacts with oxygen to create a passive protective layer. The austenitic grades, namely 304 and 316, find higher resistance in a corrosive environment as compared to others, particularly in the marine environment and chemical processing industries.
High Strength and Ductility
Depending on its composition and treatment, stainless steel may easily have tensile strength ranging from 500 MPa up to 1000 MPa and more. It is also ductile enough, which means it can be stretched or formed without breaking, and hence can be used for both structural applications and decorative applications.
Heat Resistance
Certain grades of stainless steel like 310 and 446 can maintain their strength and stiffness at elevated temperatures and hence find application in heat exchangers, boilers, and industrial furnaces.
Hygienic Properties
The smooth and non-porous surface of stainless steel prevents the accumulation of dirt, bacteria, germs, etc., so it would be very easy to clean and sterilize the surface, therefore giving preference to its use for medical equipment, food processing, and pharmaceutical applications.
Aesthetic Appeal
Because of its natural luster and the possibility to keep an attractive surface for contracting and design applications, stainless steel is widely used in architecture and design.
Resistance to Cryogenic Temperatures
Certain grades, such as austenitic stainless steels, perform superbly well under cryogenic conditions, retaining their toughness and resistance to brittle fracture down to about -200ºC.
Common Uses of Stainless Steel
- Construction and Architecture: Structural framework, roofing, and cladding in bridges, high-rise buildings, and monuments
- Medical and Surgical Applications: Surgical instruments, orthopedic implants, and hospital furniture using 316L grades
- Food and Beverage Industry: Processing equipment, storage tanks, and kitchen appliances (approximately 30% of global production)
- Automotive and Aerospace: Exhaust systems, engine parts, and precision components
- Energy and Power Generation: Heat exchangers, boilers, pipelines, and nuclear reactors
Stainless Steel vs. Other Materials Comparison
| Parameter | Stainless Steel | Aluminum | Carbon Steel | Titanium | Plastic |
|---|---|---|---|---|---|
| Corrosion Resistance | Excellent; highly resistant to rust | Moderate; can corrode in saltwater | Poor; prone to rust | Exceptional; highly corrosion-resistant | Poor; degrades in sunlight and chemicals |
| Strength-to-Weight | High strength, moderate weight | Lightweight, lower strength | High strength, heavy | Excellent strength-to-weight | Low strength, very light |
| Thermal Conductivity | Low | High | Moderate | Low | Very low |
| Cost | Moderate | Low | Low | High | Low |
| Temperature Tolerance | Excellent; withstands high heat | Moderate; limited by melting point | Good | Exceptional; high-temperature capable | Limited |
| Environmental Impact | Recyclable, eco-friendly | Recyclable, less energy-intensive | Recyclable, eco-friendly | Recyclable, eco-friendly | Not eco-friendly; difficult to recycle |
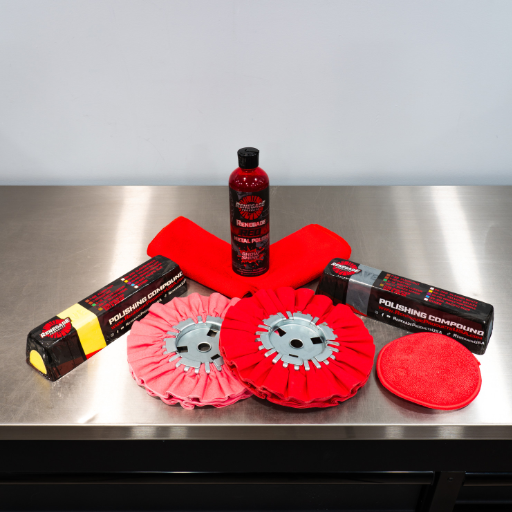
Essential Tools and Materials for Polishing Stainless Steel
Polishing of stainless steel requires all equipment and materials that provide a clean finish with a professional appearance. Below is the list of items you should have:
- Polishing Wheels and Pads: Soft pads or wheels made especially for polishing metals
- Polishing Compounds: Compatible compounds such as rouge, compounds, or metal-based polish
- Microfiber Cloths: For cleaning or polishing without streaks and without scratching
- Angle Grinder or Rotary Tool (optional): For larger areas requiring faster polish removal
- Masking Tape: To protect adjacent areas from inadvertent abrasion
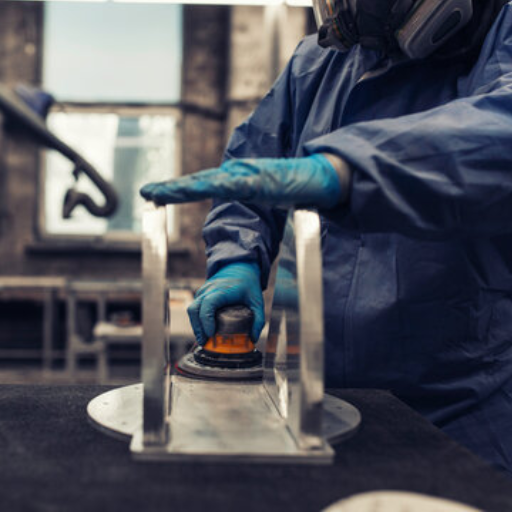
- Protective Gear: Safety glasses, masks, and gloves for protection
Polishing Creams and Wipes
Creams and wipes are the final step necessary to ensure that a stainless steel surface will have a precise and smooth finish. The creams with fine abrasive particles and chemical agents remove stains, light scratches, and oxidation from the surface, bringing it onto a plane of grandeur.
Wipes are pre-treated with specialized solutions to allow for quick and easy application, making them handy for maintaining or touching up stains in less demanding environments.
Key Features:
- Advanced polishing formulations with cerium oxide or alumina for industrial applications
- Non-abrasive and stainless steel-compatible materials
- Choice depends on scope: creams for heavy-duty restoration, wipes for regular maintenance
Buffing Tools and Accessories
Buffing tools and accessories are very important while polishing stainless steel to get a better mirror finish on the surfaces. Among the buffing tools widely used are buffing wheels made from different materials:
- Cotton wheels: Best suited for finer finishes
- Sisal wheels: Advantageous for aggressive buffing
- Felt wheels: For precision work and delicate surfaces
Advanced Power Tools:
- Variable-speed rotary and angle grinders
- Customizable attachments for different surface textures
- Microfiber cloths and polishing pads for finishing
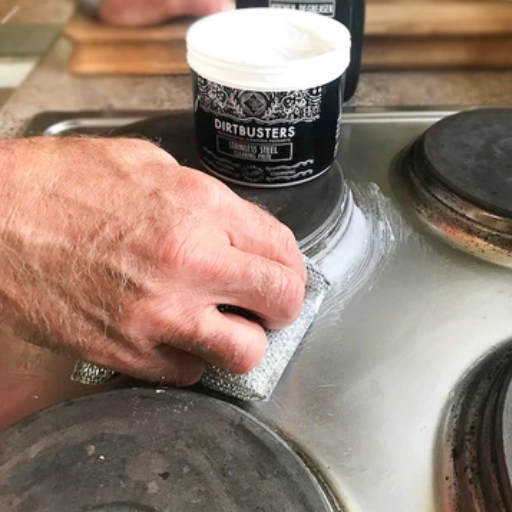
DIY Solutions Using Household Items
Using household items to polish stainless steel surfaces is a practical, economical method:
- White Vinegar and Baking Soda: Create a paste-like mixture and apply gently with a soft cloth
- Olive Oil: Apply on a cloth and wipe for natural sparkle
- Lemon and Salt: Acidic combination helps remove stains effectively
Step-by-Step Guide to Polish Stainless Steel
Step 1: Prepare the Surface
Start by rinsing the stainless steel surface with warm water along with some mild detergent. This would clean out any surfaces with dirt, grease, or dust, making the area good for polishing.
Step 2: Apply a Polishing Agent
Apply a stainless steel polish or a mixture of vinegar and water at 1:1 concentrations on a soft microfiber cloth that would not scratch the surface.
Step 3: Polish in the Grain Direction
Find the grain of the stainless steel and polish along the grain for better finish. Do not polish in circular motions as this may leave marks and scratch the surface.
Step 4: Remove Excess Residue
Keep wiping any residue with a dry microfiber cloth to make the surface streak-free and shining.
Step 5: Inspect and Repeat if Needed
Inspect any dull or missed area and go ahead and perform the polishing procedure as necessary for an even shine.
Preparing the Surface for Polishing
Clearly, in order to secure an excellent shine and ensure the extreme durability of the material, one also needs to be aware that the treatment of the surface is no less important. The preparation process includes:
- Thorough Cleaning: Use pH neutral liquid soap or suitable cleaning liquid
- Gentle Scrubbing: Use soft, non-abrasive cloth or sponge
- Rinse with Distilled Water: Remove cleaning agent residues and prevent mineral deposits
- Immediate Drying: Use lint-free microfiber cloth to prevent water spots
Applying Polish: Techniques and Tips
1. Select the Appropriate Polish
Choose material-specific polish products. Research shows that using polishes specific to material type enhances finish lifespan by as much as 25% compared to generic polishes.
2. Prepare the Applicator
Use clean foam pads, cotton cloths, or polishing tools. Microfiber applicators can reduce abrasion by 40% compared with traditional cloth.
3. Apply Polish in Moderate Quantities
Use small, even amounts to prevent streaks. Overapplication increases drying time by 30% and diminishes surface uniformity.
4. Use Circular or Linear Motions
- Circular motions: Appropriate for small areas and complex shapes
- Linear applications: Better for larger flat surfaces
- Proper technique increases the possibility of uniform coverage by 18%
5. Buff Thoroughly After Application
Let polish remain for the recommended time (2-5 minutes), then buff with a clean, dry microfiber cloth. Proper buffing prevents up to 15% durability loss from finishing technology.
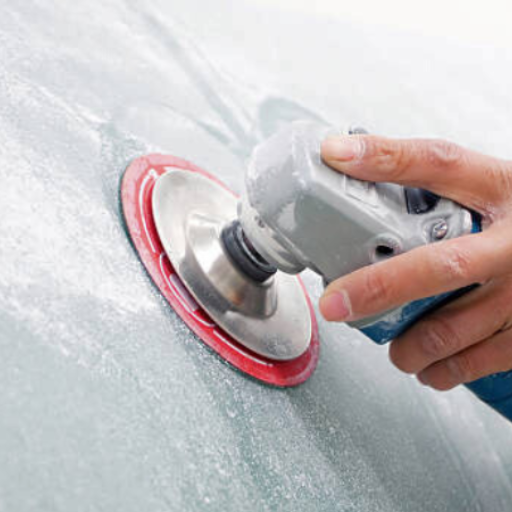
Buffing to Achieve a Shine
Buffing remains one of the surest ways to guarantee a high-grade polish. Follow these guidelines:
- Choose appropriate buffing pad based on material’s hardness
- Apply quality polish compound evenly
- Use smooth circular motions with gentle pressure
- Set correct speed on power tools to prevent heat damage
- Work under good lighting for quality inspection
- Finish with clean microfiber cloth for mirror shine
Maintaining the Shine of Polished Stainless Steel
Regular Cleaning Practices
When creating a maintenance schedule for stainless steel objects or fixtures, consider these essential practices:
- Daily Cleaning: For high-contact surfaces, clean daily to prevent material accumulation
- pH Neutral Cleaners: Use cleaners specifically designed for stainless steel
- Proper Equipment: Avoid abrasive materials that could damage the finish
- Descaling: Use vinegar periodically for lime-prone areas
Preventing Dullness and Discoloration
Protect your stainless steel surfaces by:
- Avoiding aggressive chemicals and high chloride environments
- Using mild pH solutions to prevent dirt entrapment
- Employing specialized stainless steel cleaners for tough stains
- Choosing advanced grades with molybdenum for harsh conditions
Long-Term Care Tips
1. Regular Cleaning with Non-Abrasive Materials
Use gentle cleaning agents like microfiber cloths or soft sponges. Avoid steel wool or scouring pads that risk surface damage.
2. Use Neutral pH Cleaners
Neutral pH cleaners preserve the chromium oxide film. Avoid acid and high alkali cleaners unless specifically designed for stainless steel.
3. Dry After Cleaning
Excessive humidity can cause water stains or corrosion. Always wipe with soft tissue after cleaning.
4. Apply Protective Coatings
In extreme conditions, use protective coats specifically created for stainless steel. Regular applications can decrease surface wear by up to 40% annually.
5. Avoid Chloride Exposure
Chloride solutions may enhance pitting and crevice corrosion. Rinse thoroughly if exposure occurs.
6. Conduct Routine Inspections
Check for wear, discoloration, scratches, or oxidation. Early detection prevents severe damage.
Recommended Products for Polishing Stainless Steel
Top Commercial Products
- 3M Stainless Steel Cleaner and Polish: Combines cleaning and polishing with fingerprint-resistant film
- Bar Keepers Friend Cleanser: Tough against inclusions and corrosion, removes stains and light rust
- Weiman Stainless Steel Cleaner and Polish: Safe cleaning with streak-free, brilliant finish
- Flitz Stainless Steel Polish: Core polishing with durable anti-rust protection
Top-Rated Polishing Creams
- Bar Keepers Friend Soft Cleanser: Eliminates corrosion, discoloration, and scaling while maintaining shine
- Simichrome Polishing Paste: Efficient polishing with protective film against future oxidation
- 3M Marine Metal Restorer and Polish: Designed for severe marine conditions with gentle touch
- Twinkle Stainless Steel Cleaner and Polish: Eliminates streaks and fingerprints with dirt-repelling film
Effective Stainless Steel Wipes
Special moist cloths equipped with advanced detergents for easy cleaning of grease, prints, and fingerprints. Key features include:
- No whitish/cloudy trails on surfaces
- Built-in tarnish and corrosion protection
- Suitable for domestic appliances and industrial use
- Biodegradable options available for environmental sustainability
Budget-Friendly Alternatives
Cost-effective alternatives for stainless steel maintenance:
- Vinegar and Detergent: Use with washing rags for effective cleaning
- Reusable Scrubbing Pads: Cleanable and reusable for long-term cost reduction
- Household Items: Baking soda, lemon, and olive oil combinations
Reference Sources
- “Mechanical Properties and Wear Resistance of Commercial Stainless Steel Used in Dental Instruments” (2021) – Study on wear resistance and mechanical properties of polished and etched stainless steel surfaces
- “Deposition of CeO2/TCP Thin Film on Stainless Steel 316L by RF Sputtering” – Research on thin film deposition for improved corrosion resistance on polished stainless steel surfaces
Frequently Asked Questions (FAQs)
Q: What is the best polish for stainless steel?
A: The best polish depends on the finish and scratch level. For brushed finishes, use metal polish designed for stainless steel. For mirror polish, start with coarser polish and work up to extremely fine 2000 grit polish. Always finish with a clean cloth to remove residue.
Q: How do I buff scratches on stainless steel?
A: Start by assessing scratch depth. For minor scratches, use fine scuff pads or steel wool. For deeper scratches, begin with 120 grit sandpaper, progress to 240 or 400 grit, then apply metal polish and buff with a clean towel.
Q: Can I use olive oil to polish stainless steel?
A: Yes, olive oil can be used as a natural alternative. Apply a small amount on a clean cloth for shine and fingerprint protection. First wash with dish soap and water, then use olive oil as a final touch, buffing in one direction for an even finish.
Q: How do I get stainless steel to a mirror polish?
A: Start with 240 grit sandpaper to remove imperfections, then gradually work up to finer grits (400, then 2000 grit). Use a bench grinder or orbital sander with buffing disc for efficiency. Clean the surface after each sanding step to remove dust and debris.
Q: What tools do I need to polish stainless steel?
A: Essential tools include: variable speed sander, different grades of sandpaper (120, 240, and 2000 grit), clean cloths or cotton buffs, flap discs or abrasive pads for extensive tasks, and proper safety gear for protection.