Painting aluminum surfaces requires careful attention to technique and materials to achieve lasting, professional results. Whether you’re refinishing outdoor furniture, modifying automotive parts, or working on industrial applications, proper preparation and application are crucial for preventing oxidation, ensuring adhesion, and maximizing the lifespan of your painted finish. This comprehensive guide provides expert insights into effective aluminum painting techniques, from surface preparation to long-term maintenance.
Understanding Aluminum Surfaces
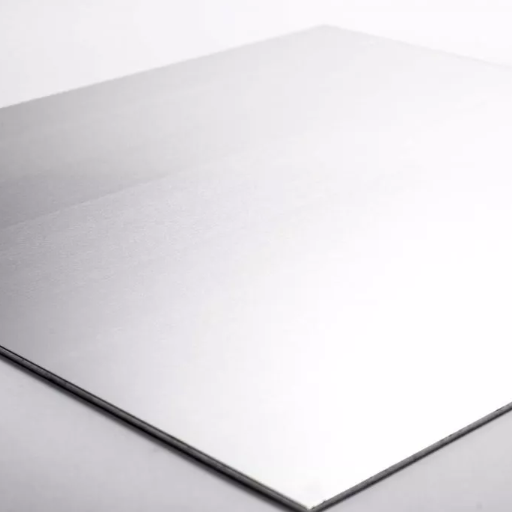
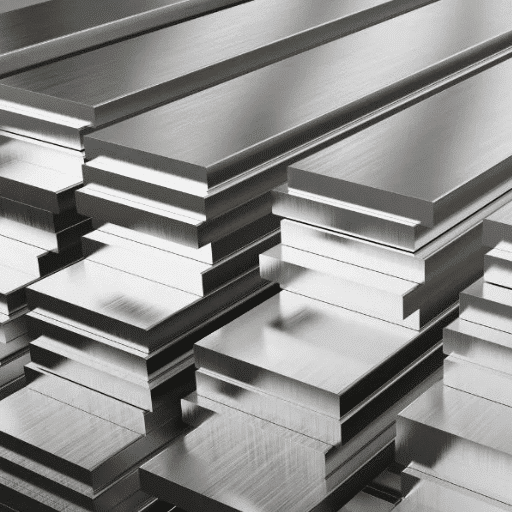
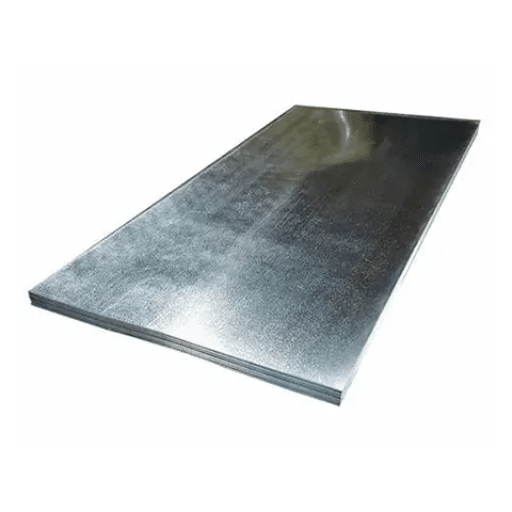
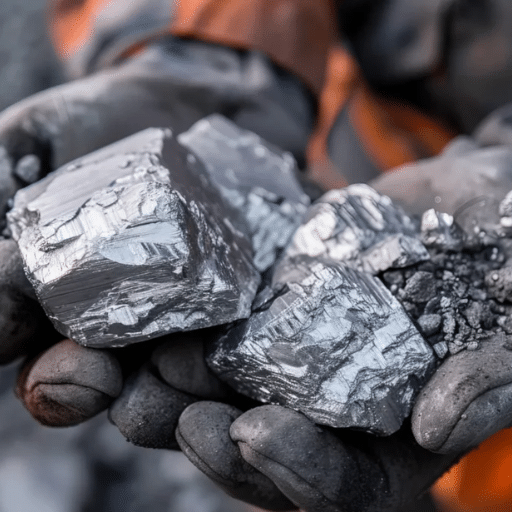
Aluminum is widely used in construction and manufacturing due to its durability, lightweight properties, and natural corrosion resistance. However, its smooth, non-porous surface and protective oxide layer make paint adhesion challenging. The thin oxide layer that naturally forms on aluminum provides excellent corrosion protection but creates a barrier that prevents proper paint bonding.
Key Properties of Aluminum
Physical Characteristics
- Density and Weight: At 2.7 g/cm³, aluminum weighs approximately one-third that of steel, making it ideal for weight-critical applications
- Strength-to-Weight Ratio: When properly alloyed, aluminum achieves tensile strengths between 70-700 MPa while maintaining low weight
- Malleability and Ductility: Easily formed, rolled into thin sheets, or extruded into complex shapes
Functional Properties
- Corrosion Resistance: Natural aluminum oxide layer provides excellent protection against environmental damage
- Thermal and Electrical Conductivity: 205 W/m·K thermal conductivity and 35.9 × 10⁶ S/m electrical conductivity (61% of copper)
- Reflectivity: Reflects 92-98% of visible light and infrared radiation
- Non-Magnetic and Non-Sparking: Safe for use in electronic applications and fire-hazard environments
- Recyclability: Requires only 5% of the energy needed for primary aluminum production while maintaining identical properties
Common Applications of Painted Aluminum
Industry Applications
- Architectural Panels: Building facades and cladding with 20+ year durability
- Automotive Industry: Lightweight components reducing vehicle weight and emissions
- Signage and Displays: Weather-resistant outdoor advertising materials
- Appliance Manufacturing: 15% increase in demand over the past decade
- Marine Applications: Saltwater-resistant boat panels and yacht interiors
- Industrial Equipment: 30% average increase in machinery service life
Surface Preparation: The Foundation of Success
Proper surface preparation is the most critical factor in achieving durable paint adhesion on aluminum. This multi-step process removes contaminants, creates mechanical bonding opportunities, and ensures optimal primer adhesion.
Step 1: Thorough Surface Cleaning
Initial Cleaning: Remove loose debris, dust, and surface contaminants using a soft brush or lint-free cloth.
Degreasing: Apply aluminum-safe degreaser or pH-balanced detergent to eliminate oils, grease, and fingerprints.
Scrubbing: Use a soft nylon sponge in circular motions to work the cleaning solution into the surface.
Rinsing: Thoroughly rinse with clean water to remove all cleaning residues.
Oxidation Treatment: For heavily oxidized surfaces, use aluminum brightener or acidic solutions with proper safety precautions.
Drying: Allow complete air drying in a dust-free environment before proceeding to sanding.
Step 2: Surface Etching and Sanding
Professional Sanding Technique
Start with coarse sandpaper (80-120 grit) for heavy contamination or old coatings, then progress to finer grits (220-320) for final surface preparation. Always sand in consistent, overlapping patterns and clean thoroughly between grit changes.
Sanding Process:
- Coarse Sanding (80-120 grit): Remove oxidation, old coatings, and major surface imperfections
- Fine Sanding (220-320 grit): Create uniform surface texture and minimize scratch visibility
- Wet Sanding (optional): For superior surface finish and dust control
- Final Cleaning: Remove all sanding residue with tack cloth or compressed air
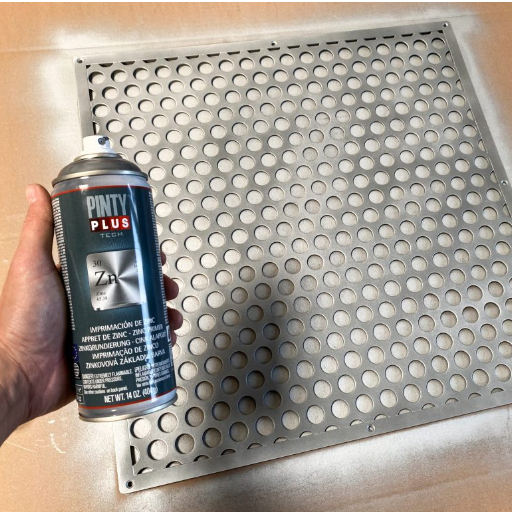
Primer Selection: Etching vs. Self-Etching
| Key Point | Etching Primer | Self-Etching Primer |
|---|---|---|
| Primary Function | Enhances adhesion on bare metals | Combines etching and priming functions |
| Composition | Acid-based chemical solution | Acid and primer in one application |
| Surface Preparation | Requires thorough cleaning | Requires proper cleaning for effectiveness |
| Application Steps | Multiple steps (etch, prime, coat) | Single-step process |
| Ideal Surfaces | Aluminum, steel, other bare metals | Bare metals like aluminum and steel |
| Compatibility with Topcoats | Highly compatible | Compatible but may need testing |
| Corrosion Resistance | Moderate | Moderate to high |
| Drying Time | Varies, typically faster | Typically faster than etching primer |
| Ease of Use | Requires separate primer | Streamlined process, easier to use |
| Cost | Generally less expensive | Slightly more expensive |
Choosing the Right Paint for Aluminum
Selecting appropriate paint is crucial for achieving long-lasting results on aluminum surfaces. Look for products specifically designed as “direct to metal” (DTM) paints or those with anti-corrosion properties. The paint must be compatible with your chosen primer system.
Paint Type Comparison
| Parameter | Acrylic Paint | Oil-Based Paint | Latex Paint | Chalk Paint | Enamel Paint |
|---|---|---|---|---|---|
| Type | Water-based | Oil-based | Water-based | Rapid-drying formula | Oil or solvent-based |
| Durability | High | Very high | Moderate | Moderate | High |
| Drying Time | Quick, 1-2 hours | Slow, 6-24 hours | Quick, 1-2 hours | Very quick | Slow, up to 24 hours |
| Finish | Matte, glossy, or satin | Glossy | Flat/matte or glossy | Matte/textured | Glossy or semi-glossy |
| Uses | Versatile, indoor/outdoor projects | Furniture, metal, wood | Walls, ceilings, general use | Furniture, decorative finishes | Metal surfaces, appliances |
| Weather Resistance | Good | Excellent | Fair | Poor | Excellent |
| Surface Preparation | Minimal, primer recommended | Extensive, sanding often needed | Primer essential | Primer optional | Primer essential |
| VOC Levels | Low | High | Low | Low | High |
| Ease of Cleanup | Easy with water | Requires solvents | Easy with water | Easy with water | Requires solvents |
| Cost | Moderate | High | Affordable | Moderate | High |
Recommended Professional Products
- Behr Premium Plus Ultra (Acrylic-Latex): Weather-resistant with low VOC content, suitable for interior and exterior applications
- Sherwin-Williams Emerald Urethane Trim Paint: Exceptional durability and smooth finish, ideal for doors, cabinets, and trim work
- Rust-Oleum Painters Touch 2X Ultra Cover (Oil-Based): Superior durability and coverage for high-wear applications
- Benjamin Moore Regal Select (Acrylic-Latex): Premium coating with excellent washability and stain resistance
- KILZ Original Primer and Paint (Oil-Based): Combined primer and paint system for demanding projects
Understanding Paint Finishes
Finish Selection Impact
Paint finish significantly affects both appearance and durability. Higher gloss levels provide better durability and easier cleaning but show surface imperfections more readily. Choose your finish based on the intended use and maintenance requirements of the painted surface.
- Flat/Matte Finish: Non-reflective surface that hides imperfections but is difficult to clean
- Eggshell Finish: Subtle sheen with balanced aesthetics and durability for moderate-traffic areas
- Satin Finish: Smooth, warm glow with good washability, ideal for high-traffic areas
- Semi-Gloss Finish: Light-reflecting surface, easy to clean, perfect for bathrooms and kitchens
- High-Gloss Finish: Maximum durability and cleanability, requires perfect surface preparation
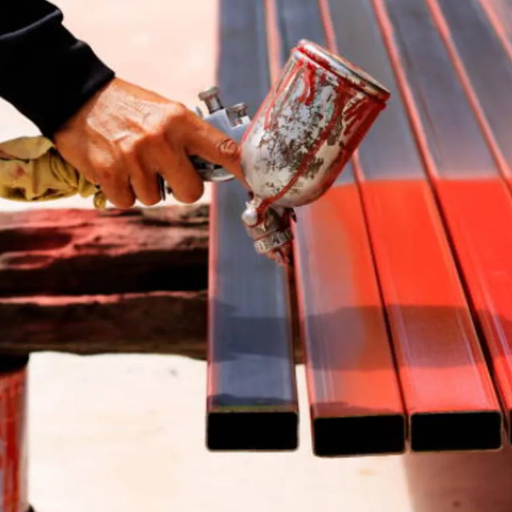
Professional Application Techniques

Essential Tools for Application
Brush Selection
- Synthetic Bristles: Ideal for water-based paints
- Natural Bristles: Best for oil-based paints
- Angled Brushes: Perfect for trim, corners, and detailed work
Roller Guidelines
- Short Nap (¼ to ⅜ inch): Smooth surfaces and fine finishes
- Long Nap (¾ inch+): Textured surfaces and hard-to-reach areas
- High-Quality Rollers: Minimize streaking and ensure even coverage
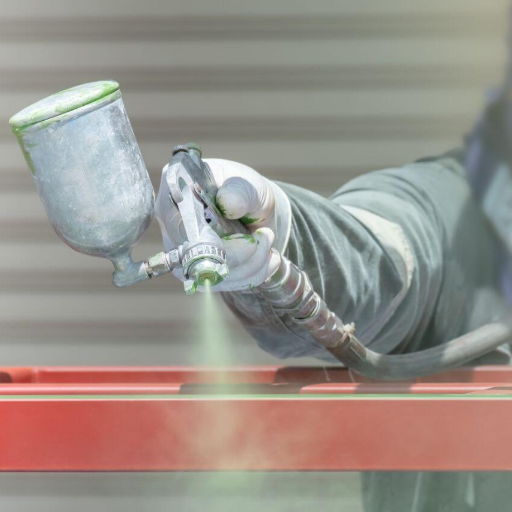
Spray Equipment
- Airless Sprayers: Large projects and consistent finish quality
- HVLP Systems: Fine finish work with reduced overspray
- Aerosol Cans: Small touch-up jobs and detailed work
Step-by-Step Application Process
1. Final Surface Preparation
- Ensure surface is completely clean, dry, and dust-free
- Verify proper ambient temperature and humidity conditions
- Apply masking tape and protective coverings
2. Primer Application
- Apply self-etching or bonding primer in thin, even coats
- Allow full curing time as specified by manufacturer
- Light sand between coats if recommended
3. Paint Application
- Apply paint in thin, even coats using proper technique
- Maintain wet edges to prevent lap marks
- Allow proper drying time between coats
- Apply minimum of two finish coats for optimal coverage
4. Quality Control and Touch-ups
- Inspect for missed spots, runs, or imperfections
- Perform touch-ups while paint is still workable
- Remove masking tape while paint is slightly tacky
5. Cleanup and Final Inspection
- Clean tools with appropriate solvents
- Store remaining paint properly labeled
- Document paint specifications for future reference
Durability and Long-Term Maintenance
The longevity of painted aluminum depends heavily on proper preparation, quality materials, and ongoing maintenance. Well-executed paint systems can provide 5-10 years of service under normal conditions, with some applications lasting 20+ years.
Maintenance Best Practices
Regular Inspection Schedule
- Every 6 months: Visual inspection for chips, fading, or corrosion
- Annual deep cleaning: Remove accumulated dirt and pollutants
- Bi-annual protective treatment: Apply UV-protective wax or sealant for exposed surfaces
Cleaning Procedures
- Use pH-neutral detergents and soft cleaning tools
- Avoid harsh chemicals, industrial solvents, and ammonia-based cleaners
- Rinse thoroughly with clean water after cleaning
- Use microfiber cloths or soft sponges to prevent surface scratching
Signs of Wear and Repainting Indicators
Critical Warning Signs
- Chalking: White powder formation due to UV degradation
- Color Fading: Loss of original color intensity
- Paint Adhesion Loss: Chipping, peeling, or flaking areas
- Substrate Exposure: Visible aluminum showing through paint
- Corrosion Development: Rust spots or oxidation at damage points
Repainting Schedule Guidelines
- Standard Conditions: 5-10 years under normal exposure
- Harsh Environments: 3-5 years for marine or industrial settings
- High-Traffic Areas: More frequent inspection and touch-up maintenance
- Premium Systems: Up to 15-20 years with proper preparation and materials
Reference Sources
1. How to Paint Aluminum — and Keep It Painted
- Cleaning: Use dish soap and scouring pads to remove grease and dirt.
- Sanding: Sand the surface with 320-grit sandpaper to remove oxidation and create a rough texture for better paint adhesion.
- Priming and Painting: Apply self-etching primer in light coats, followed by a topcoat of paint (e.g., epoxy or acrylic). Allow proper drying time between coats.
2. How to Paint Aluminum: The Complete Guide
- Paint Selection: Recommends acrylic latex, oil-based, epoxy, or direct-to-metal (DTM) paints for durability and adhesion.
- Preparation: Highlights cleaning, sanding, and priming (using self-etching primers) as essential steps to remove oxidation and create a suitable surface.
- Application: Advises applying thin, even coats of paint and allowing proper drying time to avoid cracking or bubbling.
Frequently Asked Questions
Q: What is the best way to paint aluminum surfaces?
Q: How do I ensure paint adheres to aluminum?
Q: Can I use latex or acrylic paints on aluminum?
Q: How do I prepare aluminum for painting?
Q: What type of primer should I use for aluminum?
Professional Success Tips
- Invest in quality surface preparation – it’s 80% of the job’s success
- Use products from the same manufacturer’s system for optimal compatibility
- Environmental conditions matter – avoid painting in extreme temperatures or humidity
- Document your process and materials for future maintenance reference
- When in doubt, test your system on a small, inconspicuous area first
Professional aluminum painting requires patience, proper materials, and attention to detail. Following these guidelines will help ensure your painted aluminum surfaces provide years of reliable service and attractive appearance.